
Creating Users
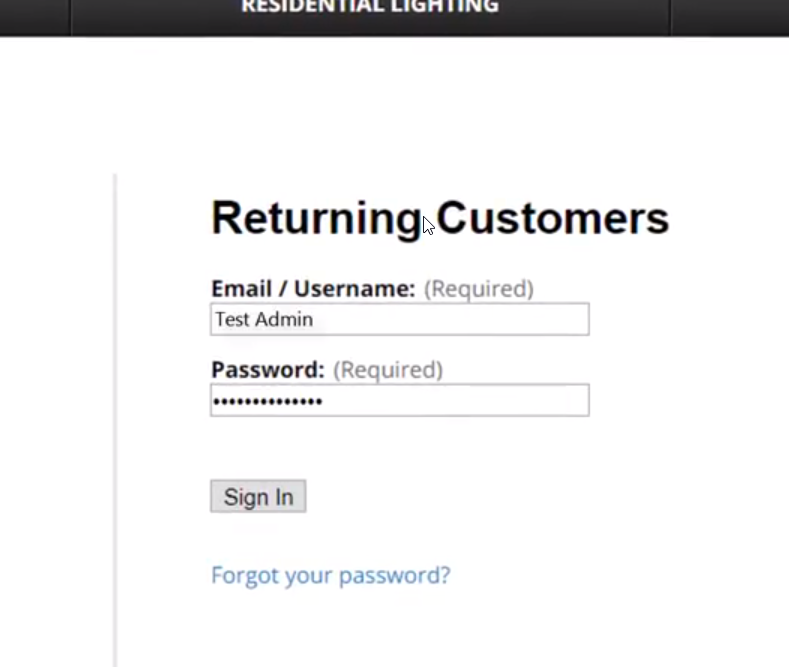
1 - Go to your back-end home page. As an administrator, log in with your username, and your password. If you have not yet received your username and password, contact your account manager at clientservices@xologic.com or 866-684-4134.
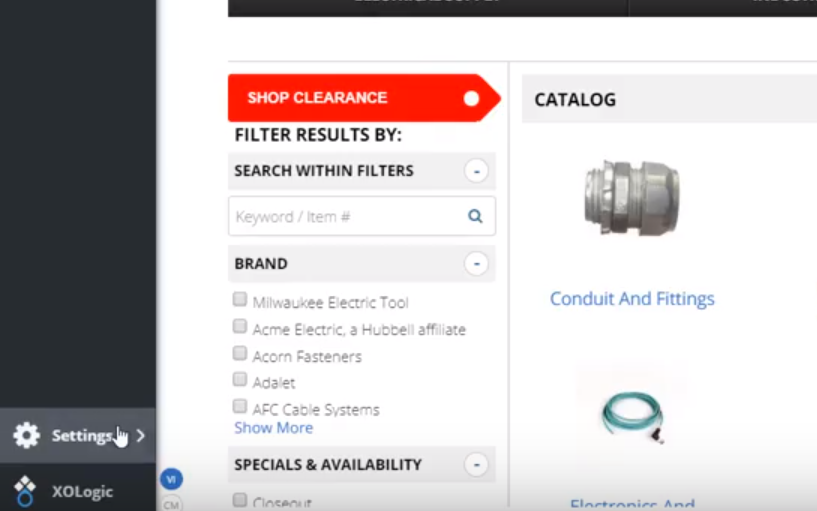
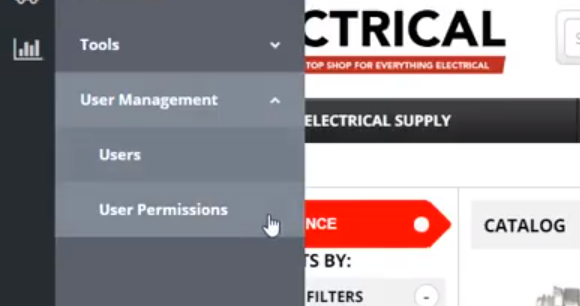
2 - In the bottom, left-hand corner, click “Settings”
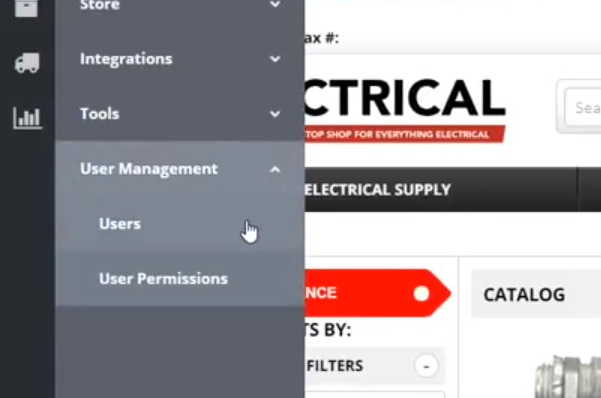
3 - Click “User Management” and then “Users”
4 - In the bottom center of the page, click “Add User”

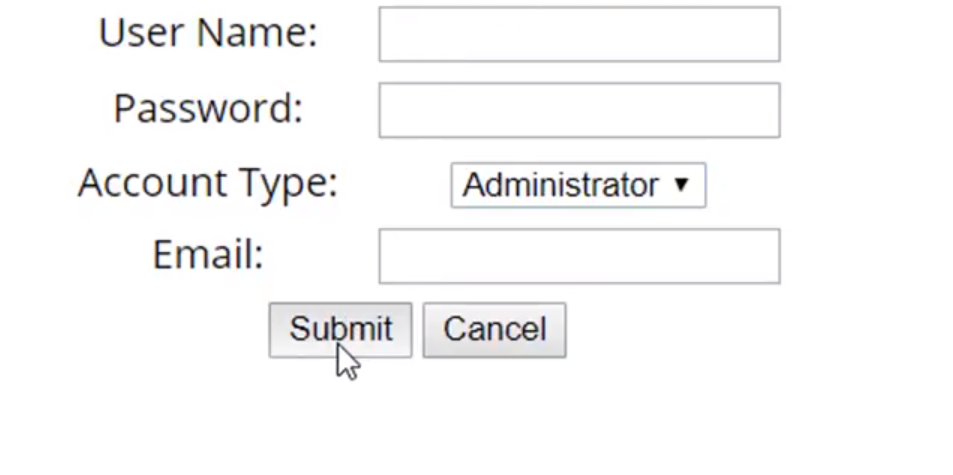
5 - Fill out the fields as instructed. Please note, the fields highlighted below are required.
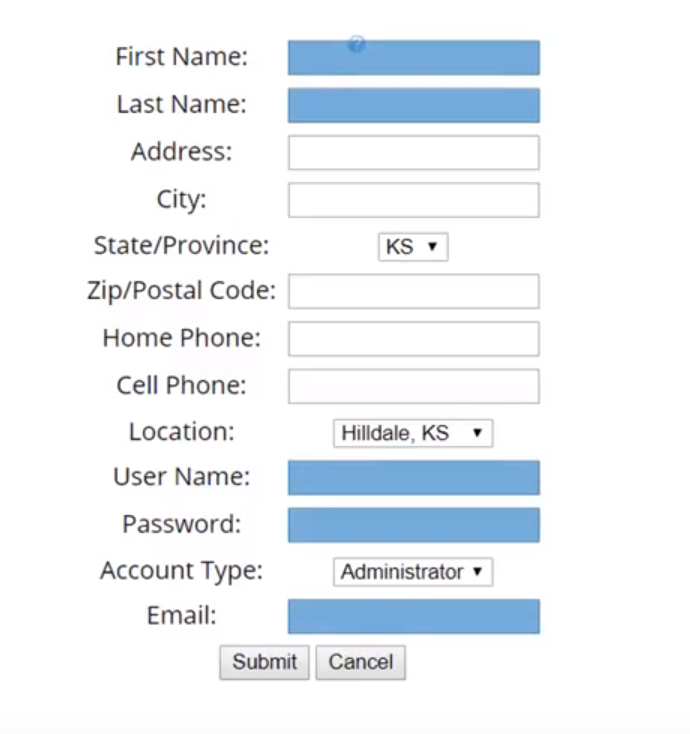
6 - Most of the fields are self-explanatory, so we’ll just touch a few ones to clarify:
- Location. If you have multiple store locations, you can choose which one the administrator or sales rep works from. This does not change permission levels, but it will change the location information printed on invoices by that individual.
- Username. This is typically the same as the email address, but you can input anything else. If you use a username that is already in use, it will prompt you to choose another.
- Password. No requirements for this password, but please make sure it is secure
- Account Type. You have two options in the “Account Type” field: Administrator and Salesrep. We will go over the permission levels for these two account types in the next section.
- Email. This is the email our system will send notifications to when orders are placed by accounts and customers assigned to them
7- When finished inputting the information, Click “Submit”
8 - Notify the new user of their account, and their username and password. The system will not notify them for you.
__________
User Permissions
This is where you can adjust the permission levels of your various users. Let’s show you how to do this.
1 - Make sure you are logged in as an administrator
2 - In the bottom, left-hand corner, click “Settings”
3 - Click on “User Management” and then “User Permissions”
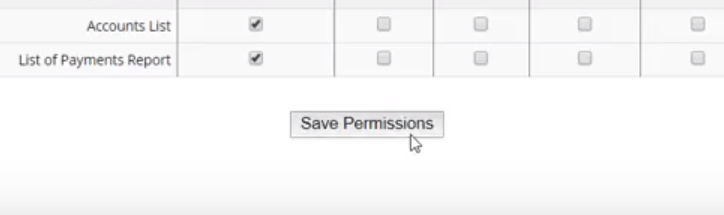
4 - Check corresponding boxes to turn permissions on, uncheck them to turn them off.

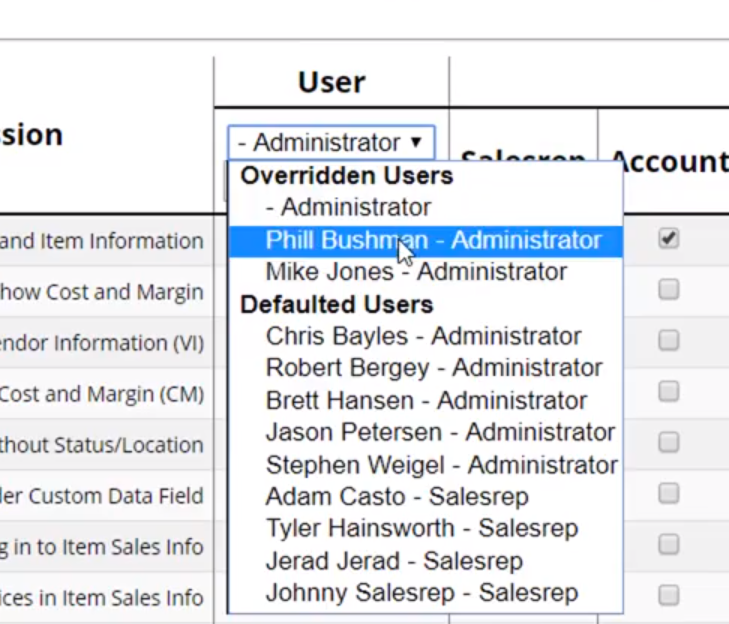
5 - If you click on the Administrator drop down, you can select any of the users in the system. At that point, you can individually adjust their permissions, overriding whatever permissions are assigned to their login type. If you want to revert their permissions to the default, click “Reset To Default”.
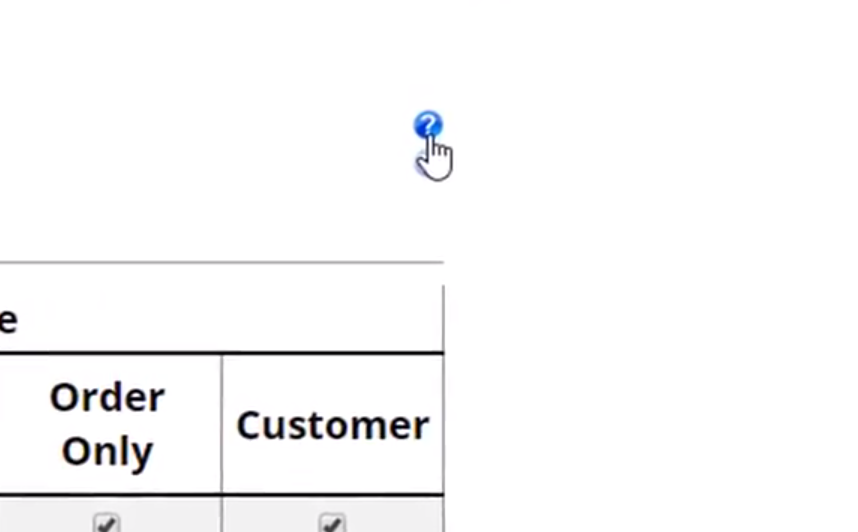
6 - For further information on each login type or what each permission line item is referring to, click on the small question mark in the top right-hand corner of the table. The explanations shown are copied below for your convenience.
7 - Remember to click “Save” when you are done adjusting permissions
______________________________________________________________________________
Login Types
Administrator: refers to a user with full accessibility to all settings and tools.
Salesreps: refers to a login created under Users with the type set as Salesrep.
Accounts: refers to a login created as a contractor, designer, electrician, etc.
Web Guests: refers to a login created under the Web Orders account. A customer who creates their own login over the web will appear here.
Order Only: refers to a login specific to an order. Every time an order/estimate is created, a login is also created at the bottom of the page that the customer can use to review their order.
Customers: refers to any customer login that appears under any other accounts except for Web Orders. This includes the Walk-Ins customers
Permissions
Show Vendor and Item Information: If this box is checked, users will see vendor names and manufacturer numbers when they log in.
Show Cost and Margin: If this box is checked, users will see store costs and margins when they log in.
Allow to Toggle Vendor Information (VI): If this option is selected, users will be able to toggle vendor information on and off using the VI buttons at the bottom of relevant pages.
Allow to Toggle Cost and Margin (CM): If this option is selected, users will be able to toggle costs and margins on and off using the CM buttons at the bottom left-hand corner of relevant pages.
Allow Item Additions without Status/Location: This section is now obsolete and will be removed.
Allow use of Order Custom Data Field: Here you can choose who will see the custom data field you created in Order Custom Data under Settings.
Allow to log in to Item Sales Info: If this option is selected, users will be able to log in to Item Sales Info and view additional information on a product.
Allow to view prices in Item Sales Info: If this option is selected, users will be able to log in to Item Sales Info and view additional information on pricing
Allow to view Manufacturer Info in Item Sales Info: If this option is selected, users will be able to log in to Item Sales Info and view additional manufacturer information.
Allow to Confirm Estimate: If this option is selected, users will be able to confirm estimates in the system. This can also be automated if payment is received through Settings.
Allow to use Marketing Tool: If this option is selected, users will be able to access and make changes to the marketing tool.
Allow to see SCORE Dashboard: If this option is selected, users will be able to see the SCORE dashboard.
Clearance Center: If this option is selected, users will be able to turn on or off clearance center.
Allow editing of permissions: If this option is selected, users will be able to edit this table of permission levels
Email Template (Request Quote): If this module is turned on by XOLogic, you check the box under “Customer” and allow customers to request a quote on an order. Only works for customers.
Disable editing of Customer Info: If this option is selected, users will be UNABLE to edit customer information.
Item Identifiers
This section of the Permissions area allows you to choose which item numbers show up for which groups of people. Any time you add custom item identifier fields they will also appear as an option in addition to the Vendor Item Numbers and the XO Item Numbers.
Vendor Item Number: If this option is selected, users will be able to see the vendor item. number.
XO Item Number: If this option is selected, users will be able to view the XO item number.
Reports
If these options are selected, users will be able to view the associated report.
Comments
0 comments
Please sign in to leave a comment.