
Store Settings Overview
This is the first of 5 articles going over store settings. We will give you a quick overview, and then dive deeper in subsequent articles. Please take the time to understand this section because it affects so much of your site.
To get to the store settings page:
1 - Log into your backend website using your username and password.
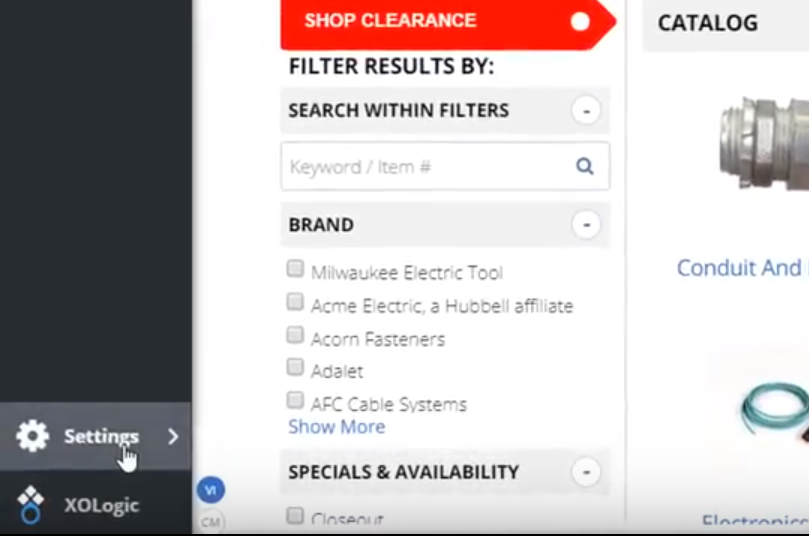
2 - In the bottom left-hand corner click “Settings”
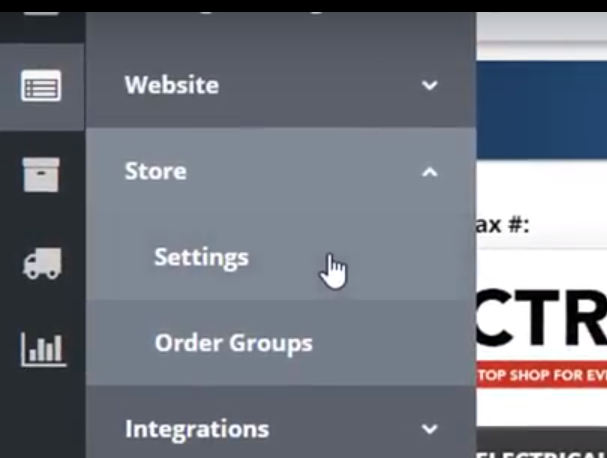
3 - Then click “Store”, and then “Settings”
4 - There are five sections or tabs of the settings, and they will all be addressed in articles and videos linked below. They are:
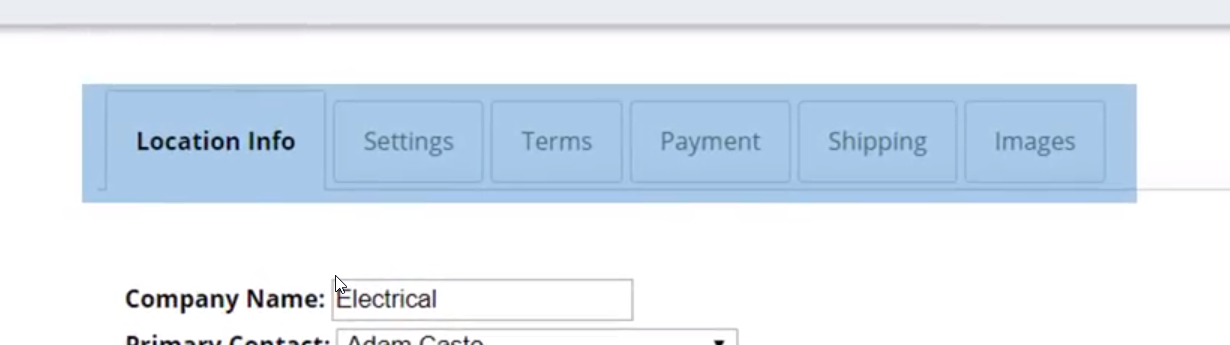
- Location Info: Enter your store’s physical address, phone number, etc., as well as add additional locations. Equally as important, this is where you will upload your tax tables.
- Settings: Upload your logo, enable or disable your checkout features, hide pricing, and even add a custom data field to your check out.
- Terms: Upload terms and conditions for various aspects of the website
- Payment: Link credit card processors and PayPal
- Shipping: Create shipping options and associated charges.
- Images: Change product image settings
Click the associated links to learn more about each tab:
- Store Settings: Location Info
- Store Settings: Payment
- Store Settings: Shipping
- Store Settings: Settings, Terms & Images
Comments
0 comments
Please sign in to leave a comment.