
Use the following steps to Download and install the Web Connector to use with QuickBooks:
- Install version 2.2.0.71 of the web connector on the your dedicated computer (click the link below). It is recommended to use a dedicated machine for the web connector program. If using the Right Networks server this step may need to done with the assistance of the Right Networks support Center.
- Download the QWC file
- On the your designated computer, or Right Networks server login to your XOLogic site.
- Go to Settings>Integrations>QuickBooks Data Map v2
- Click “Download and Install the xologicconnect.qwc file”
- Double click this file and add it to the web connector.
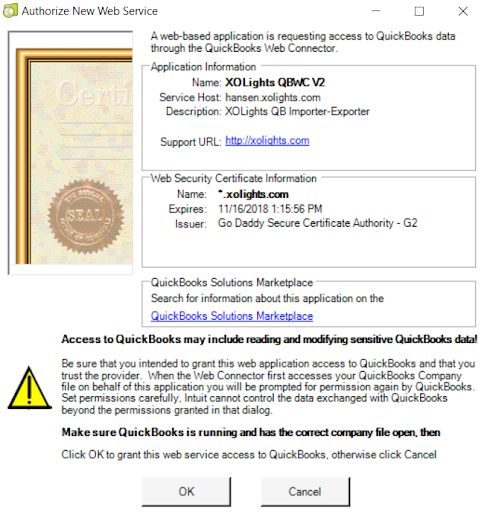
- An “Authorize New Web Service” window will appear. Check the “Only update when QuickBooks is Open” option and select OK (see below). This will store a security certificate in QuickBooks allowing XOLogic to transfer order, item, and account information into the database of QuickBooks.
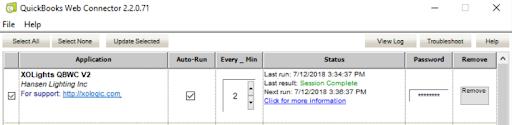
- This should add that file to their web connector application. Enter the password for this file, which is the same password as the user who logged into XOLogic to download the web connector file.
Comments
0 comments
Please sign in to leave a comment.