
How to Create an Order
We have revamped the way on how you can put an order together using the XOLogic platform. It is much faster, better organized, and you can see your order while navigating through your catalog. Here are 3 ways that you can create orders and how to add items to your orders.
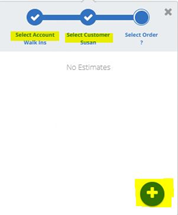
Option 1 :
- Select your account and customer.
- Give your estimate a name.

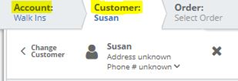
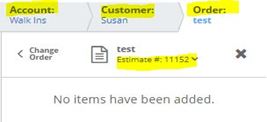
- Once the estimate has been created, an estimate number will be generated.
- You can now see your order, customer, order name, and estimate number.
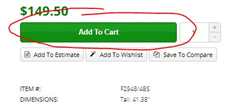
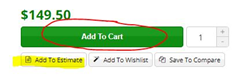
Option 2 – Add to Estimate:
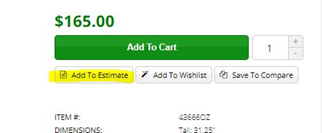
- On item details, click on ‘Add To Estimate’
- You will see a pop up that defaults to your ‘Walk Ins’ account. You can change this by clicking on ‘Select Account’.
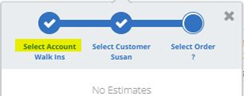
- Select your account and customer and click the + button to give your estimate a name.
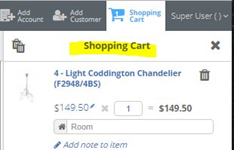
Option 3 – Add to Cart:
- On item details click ‘Add To Cart’
- This is a quick way to put an order together without having to get the customer information first, you can just start adding items to your order.
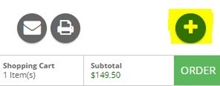
- You will see the items in the shopping cart on your right sidebar.
Adding items to your order
Option 1 – Item Details Page :
- On the item detail page, you can choose to ‘Add to Cart’ or ‘Add to Estimate’.
- When the right sidebar is open, click on the + button.
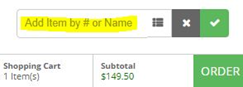
- Type in name or item number and click check mark symbol.
Option 2 – Side Bar List Icon:
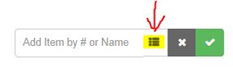
- Add From Catalog
- Here you can type in an item number and provide a quantity, room, and item price.
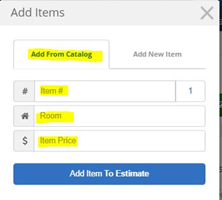
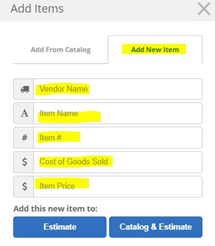
- Add New Item.
- You can use this option to add an item to the order that does not already exist in your catalog.
Option 3 – Search All Box:
- From here you can type in an item number or keyword. Once the item is found, you can click the + to add the item to your order.

Comments
0 comments
Please sign in to leave a comment.